

Mounting a Bushing Ng Motor securely is a crucial step in ensuring its optimal performance and longevity. As a trusted Bushing Ng Motor supplier, I understand the significance of this process and am here to guide you through it. In this blog, we'll explore the step-by-step process of securely mounting a Bushing Ng Motor, along with some essential tips and considerations.
Understanding Bushing Ng Motors and Their Components
Before we dive into the mounting process, it's essential to have a basic understanding of Bushing Ng Motors and their key components. Bushing Ng Motors are equipped with high - quality bushings that play a vital role in reducing friction, supporting the motor shaft, and maintaining proper alignment.
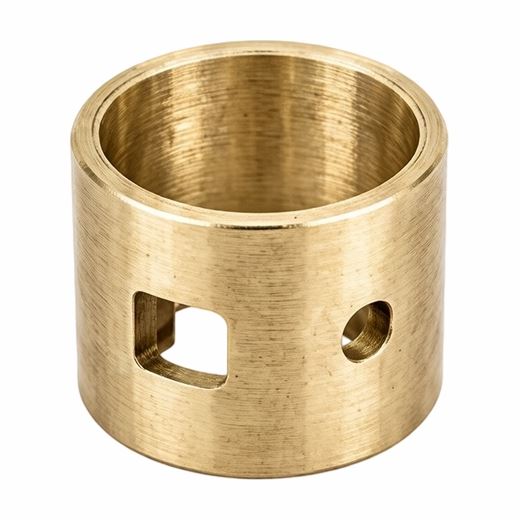
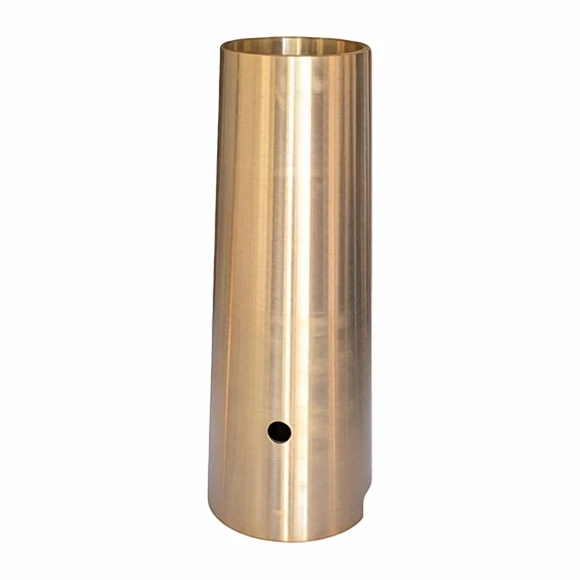
Some of the commonly used bushings in these motors include Sintered Metal Bushing, Steel Bronze Gear Motor Shaft Sleeve, Bi Metal Bushings, Copper Steel Piston Motor Sleeve Bearing, and Bimetal Bushing. Each type of bushing has its own unique properties and advantages, making them suitable for different applications and operating conditions.
Pre - Installation Preparation
Select the Right Location
The first step in mounting a Bushing Ng Motor is to choose the right location. The location should be clean, dry, and free from excessive vibrations and contaminants. Make sure there is enough space around the motor for proper ventilation and easy access for maintenance.
Gather the Necessary Tools
You'll need a set of basic tools for the mounting process, including wrenches, screwdrivers, a torque wrench, a spirit level, and a feeler gauge. Ensure that all the tools are in good condition and of the appropriate size for your motor.
Inspect the Motor and Bushings
Before mounting, carefully inspect the Bushing Ng Motor and its bushings for any signs of damage, wear, or defects. Check the motor shaft for straightness and smoothness, and ensure that the bushings fit snugly and have the correct dimensions. If you notice any issues, replace the damaged components before proceeding.
Mounting the Bushing Ng Motor
Align the Motor
Place the motor on the mounting surface and use a spirit level to ensure that it is perfectly horizontal. This is crucial for proper operation and to prevent premature wear on the bushings and other components. If the surface is uneven, use shims to level the motor.
Mark the Mounting Holes
Once the motor is level, mark the locations of the mounting holes on the surface. You can use a center punch or a drill bit to create small indentations at the marked points. This will help guide the drill later and ensure accurate hole placement.
Drill the Mounting Holes
Using the appropriate drill bit, carefully drill the mounting holes at the marked locations. Make sure the holes are deep enough and have the correct diameter to accommodate the mounting bolts. Remove any metal shavings or debris from the holes after drilling.
Install the Bushings
Before inserting the motor shaft into the bushings, apply a thin layer of lubricant to the inner surface of the bushings. This will reduce friction during installation and ensure smooth operation. Carefully insert the motor shaft into the bushings, taking care not to damage the bushings or the shaft. If the fit is too tight, you may need to use a bushing installer or a press to ensure proper installation.
Mount the Motor
Place the motor on the mounting surface, aligning the mounting holes in the motor with the holes in the surface. Insert the mounting bolts through the holes and screw them in loosely. Use a torque wrench to tighten the bolts to the manufacturer's recommended torque specifications. Over - tightening or under - tightening the bolts can lead to problems such as misalignment, vibration, and premature wear.
Check the Alignment
After mounting the motor, check the alignment again using a dial indicator or a straightedge. The motor shaft should be perfectly aligned with the driven equipment. If the alignment is off, make the necessary adjustments by moving the motor slightly or using shims.
Post - Installation Checks
Electrical Connections
Ensure that all the electrical connections are properly made and tightened. Check the wiring for any signs of damage or fraying. Use a multimeter to test the electrical continuity and voltage.
Lubrication
Re - check the lubrication of the bushings and other moving parts. If necessary, apply additional lubricant according to the manufacturer's recommendations.
Initial Start - Up
Before running the motor at full speed, perform an initial start - up test. Start the motor for a few seconds and listen for any unusual noises or vibrations. If you notice any issues, stop the motor immediately and investigate the cause.
Tips for Secure and Long - Lasting Mounting
- Regular Maintenance: Schedule regular maintenance checks to inspect the motor and its components for wear, alignment, and lubrication. This will help prevent unexpected breakdowns and extend the life of the motor.
- Use Quality Components: Always use high - quality bushings and mounting hardware. Inferior components can lead to premature failure and costly repairs.
- Proper Ventilation: Ensure that the motor has adequate ventilation to prevent overheating. Blocked ventilation can cause the motor to overheat and damage the bushings and other internal components.
Conclusion
Mounting a Bushing Ng Motor securely is a multi - step process that requires careful attention to detail. By following the steps outlined in this blog, you can ensure that your motor is installed correctly and will provide reliable performance for years to come.
If you're in the market for high - quality Bushing Ng Motors or related components such as Sintered Metal Bushing, Steel Bronze Gear Motor Shaft Sleeve, Bi Metal Bushings, Copper Steel Piston Motor Sleeve Bearing, or Bimetal Bushing, don't hesitate to contact us for a quote and to discuss your specific requirements. We're committed to providing you with the best products and expert advice to meet your needs.
References
- Motors and Drives Handbook, Second Edition
- Machinery's Handbook, 31st Edition
- Electric Motor Repair Manual, Third Edition